
This guide walks a partner through granting the Performance Metrics Enterprise Application access to a customer’s Microsoft 365 tenant, and configuring authentication and synchronization for DDI Manager and VoiceQ365. Follow the step-by-step below.
-
Navigate to: https://coherence.performance-metrics.com
-
Click "Synchronization"
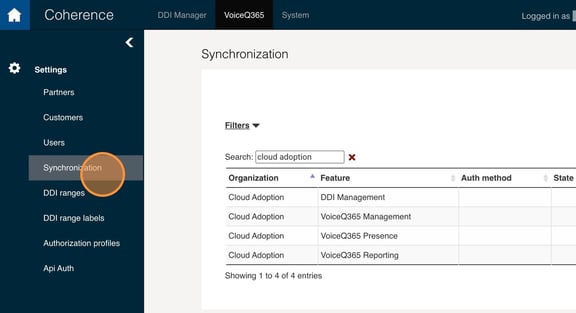
-
Click "DDI Management"
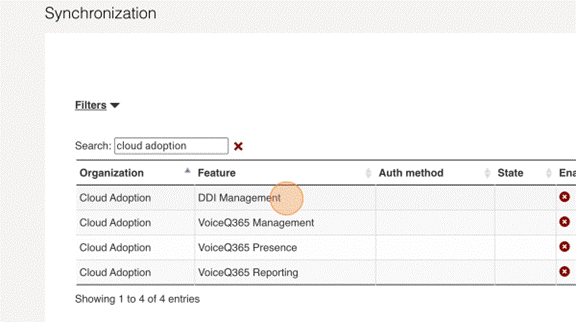
-
Click "Go to authentication settings"
-
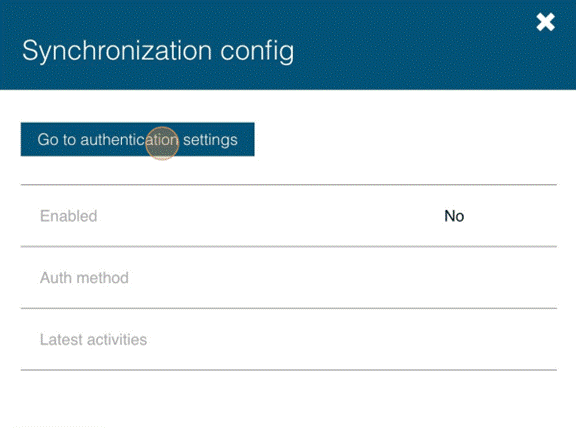 Click "New configuration"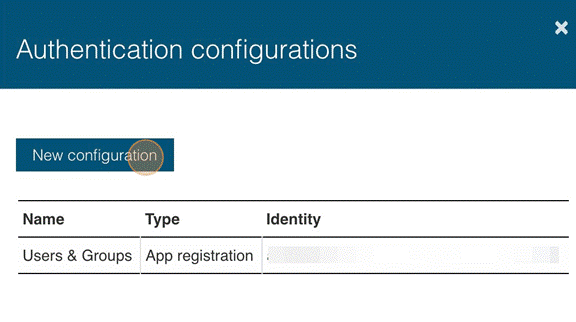
-
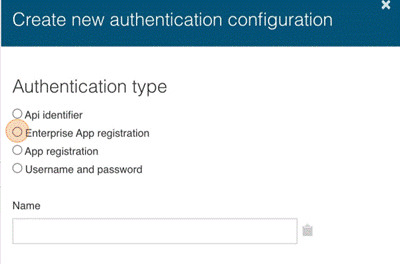
Click "Enterprise App registration"
-
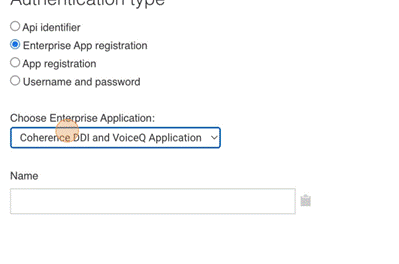
Select the "Coherence DDI and VoiceQ Application" option.
-
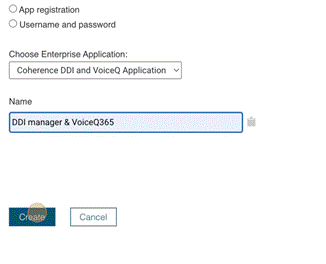
Enter a name for the configuration in the textbox ie. "DDI manager & VoiceQ365"
-
Click "Create"
-
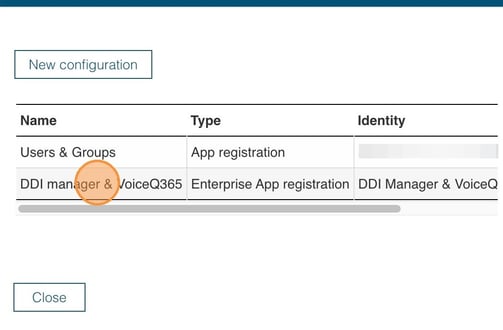
Click "DDI manager & VoiceQ365"
-
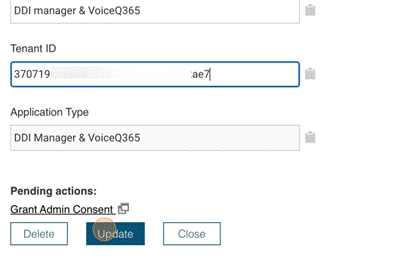
Copy and insert the tenant ID from the Microsoft Azure portal and Click "Update"
-
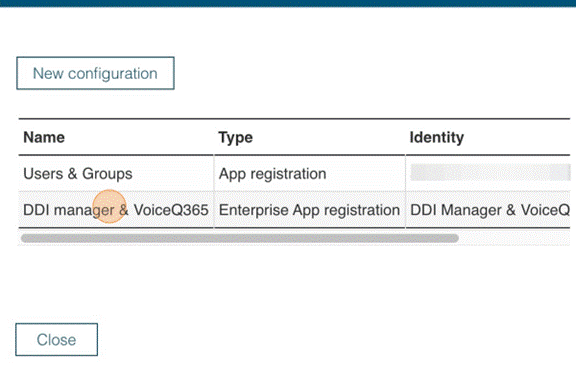
Click "DDI manager & VoiceQ365"
-
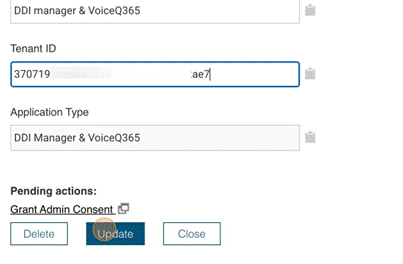
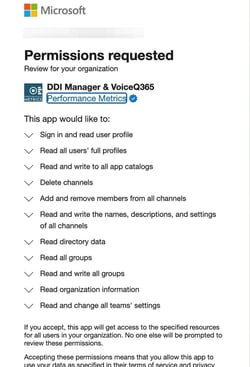
Click "Grant Admin Consent"
-
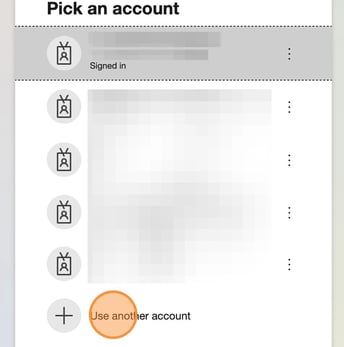
Select either an existing account that has administrative access to the tenant or click "Use another account"
-
The list shows the permission required.
-
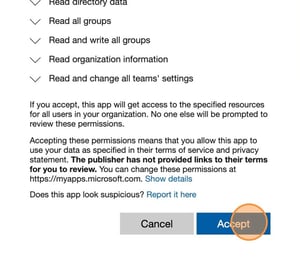
Click "Accept"
-
The Enterprise Application has now been registered in the tenant. Next you need to grant administrative privileges.
-
DDI manager and VoiceQ365 are using the same application, but if you will using the DDI manager as the only application, you can choose "Teams Telephony Administrator" in the dropdown.
-
Click on the dropdown. Select the "Teams Administrator" option.
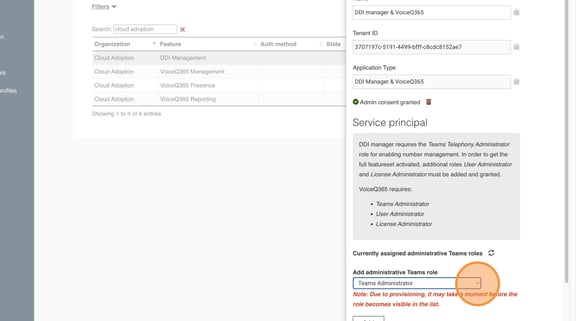
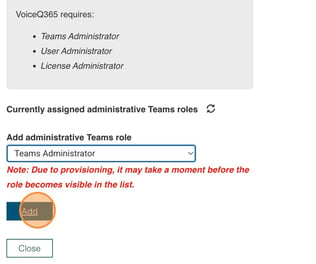
If VoiceQ365 also is going to be used you would have to add the following:
Teams Administrator
Licens Administrator
User Administrator
-
Click "Add" to grant admin consent to register a service principal with the select rights.
-
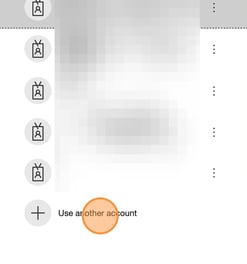
Clicking on "Add" opens up a new tab in your browser, where you have to select which account you'll be using.
-
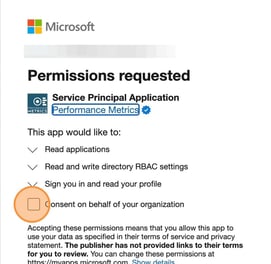
Click the "Consent on behalf of your organization" field.
-
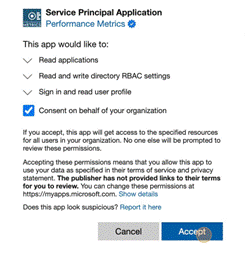
Click "Accept"
-
Repeat the steps for the additional access rights to be added, as described here
-
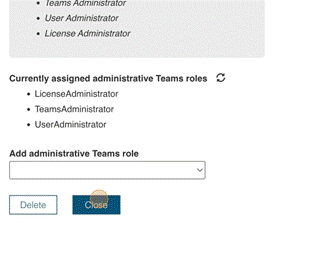
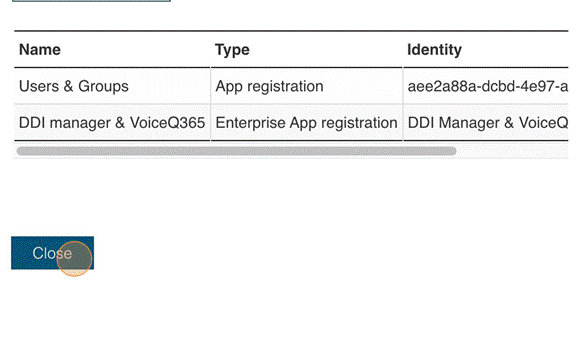
Click "Close" after successfully have conducted the previous steps
-
Click "Close"
-
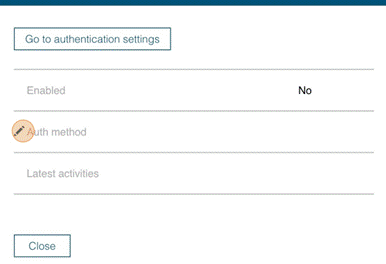
Click "Auth method"
-
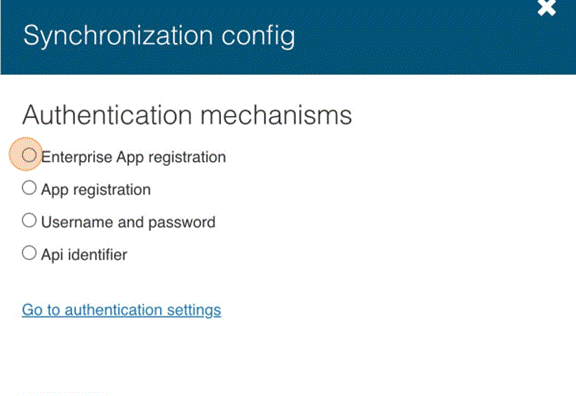
Click "Enterprise App registration"
-
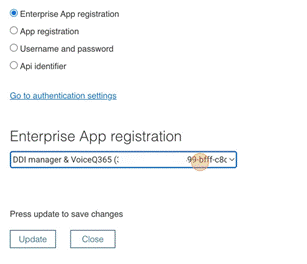
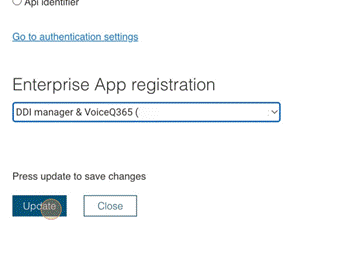
Select the "DDI manager & VoiceQ365 (xxxx-xxxxxx-xxxxxx)" option.
-
Click "Update"
-
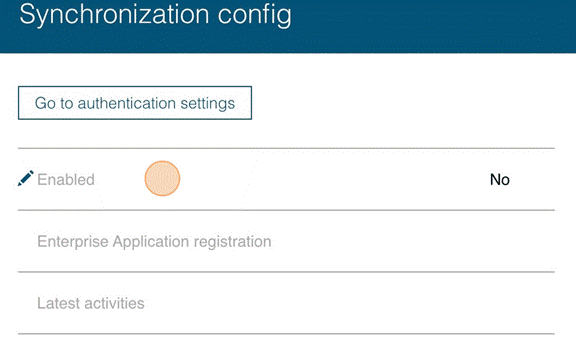
Click "Enabled"
-
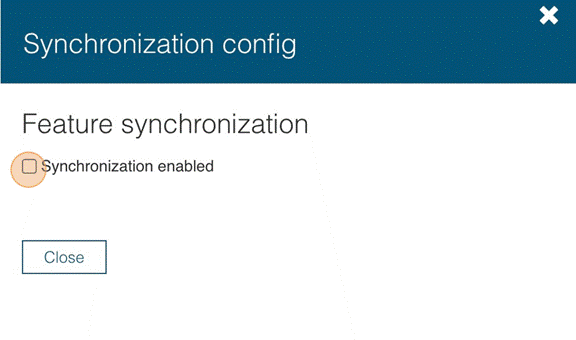
Click "Synchronization enabled"
-
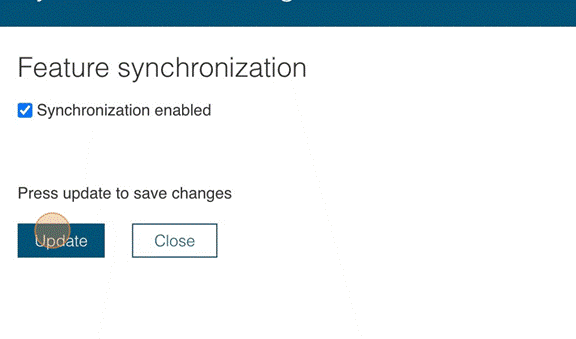
Click "Update"
-
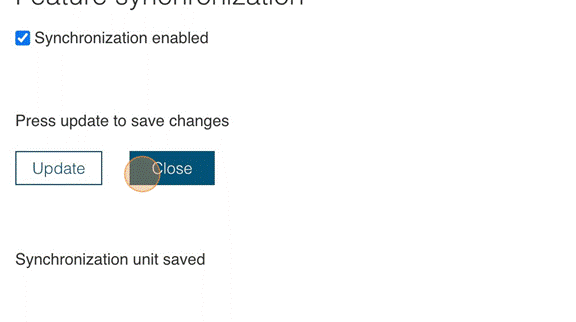
Click "Close"
-
The synchronization for the DDI manager has now been activated.
You have now registered the DDI manager synchronization successfully!