
Labels sit under DDI Manager → Settings → DDI range labels. From here you create a new label in five steps.
- Click
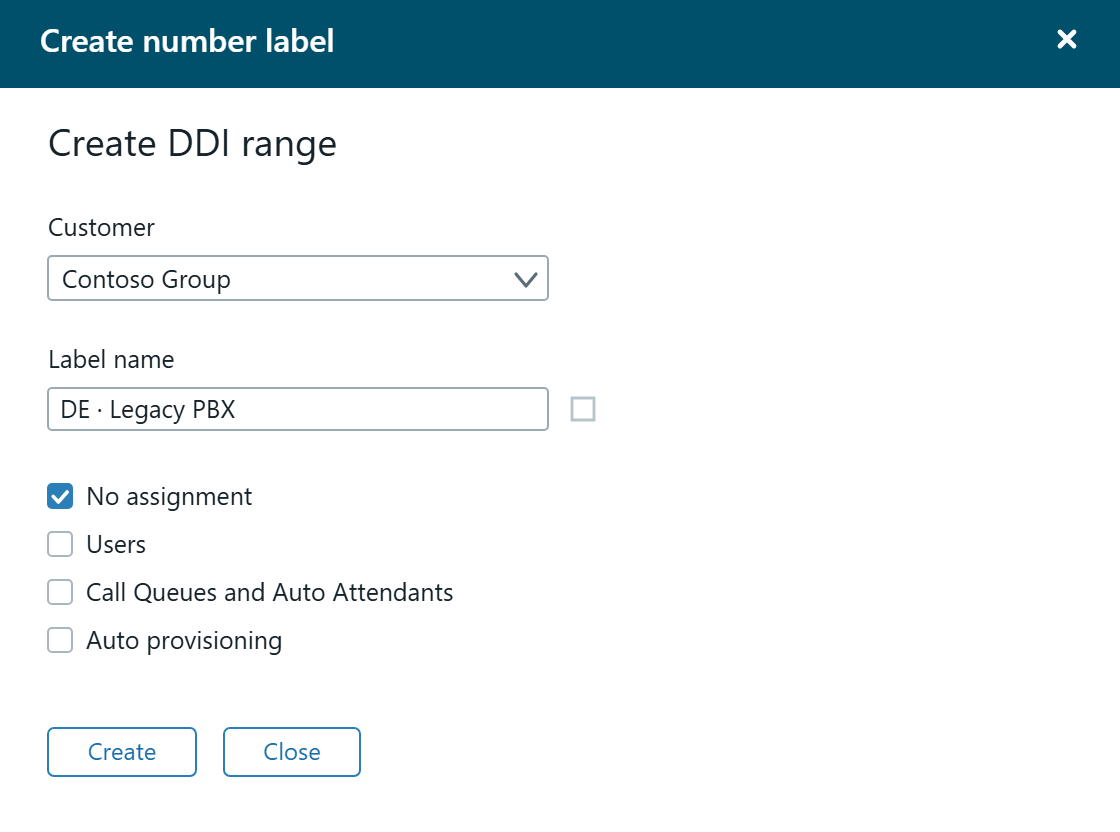
Create number label. A panel slides in from the right. - Choose the customer under
Customer. The label will belong to this specific customer or tenant and cannot be moved afterwards. If you administer several countries in separate tenants, the label has to be created in the right one. - Enter a name under
Label name. The name is what your colleagues will read out in the number overview. See Naming labels. - Tick one or more capabilities. Remember: this choice is permanent. See Label capabilities.
- Click
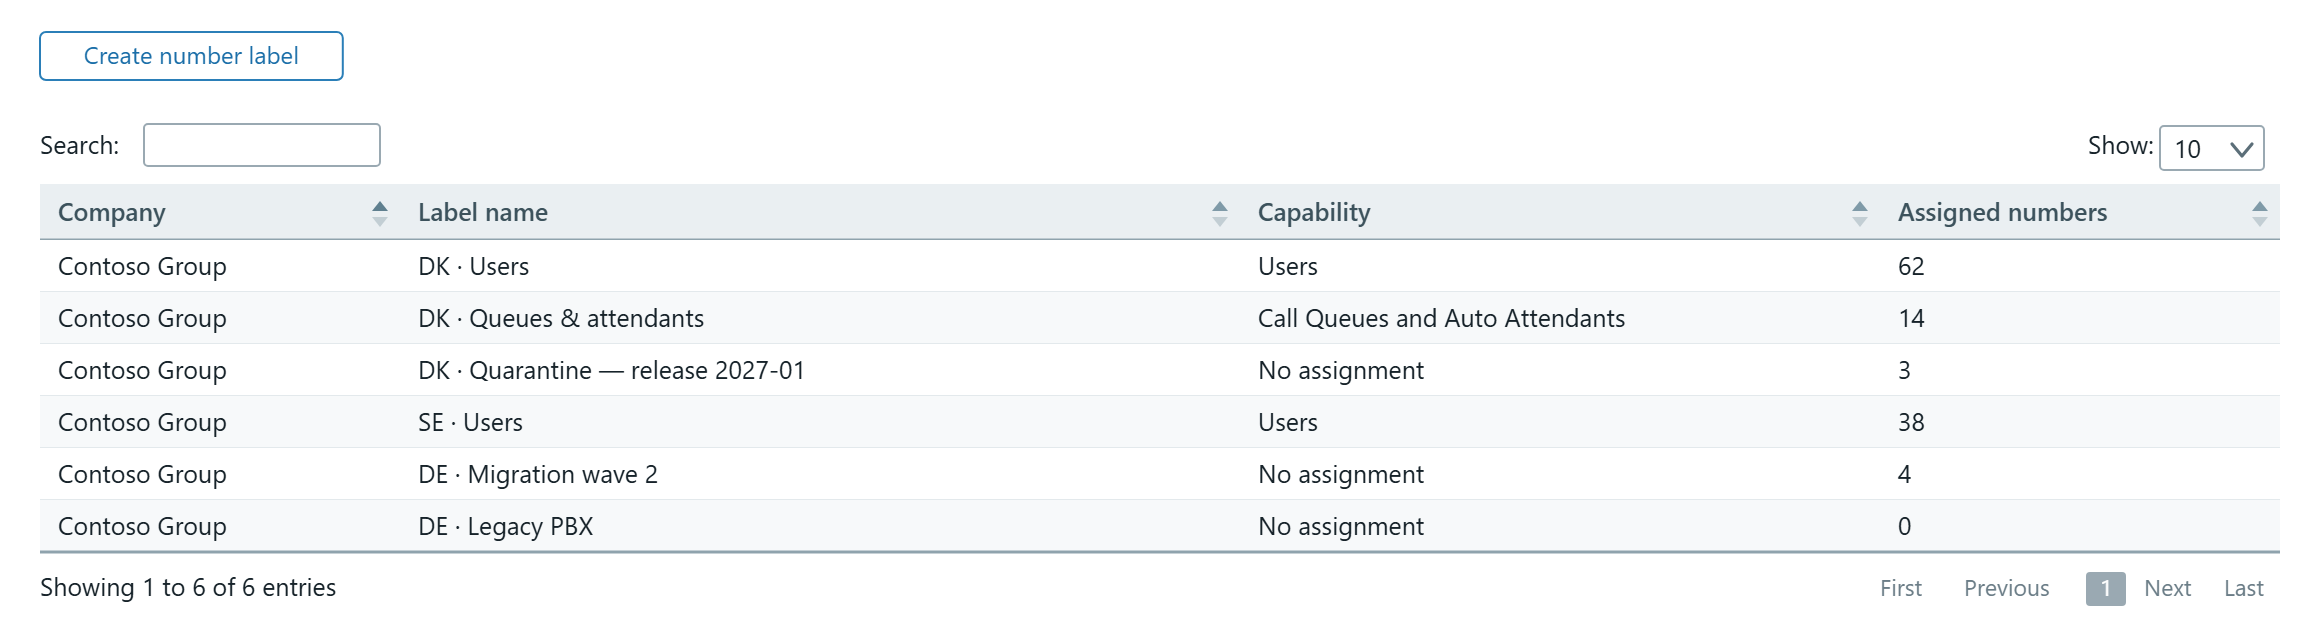
Create. The label is created immediately and appears in the table with 0 assigned numbers.
Next step
A label without numbers does nothing. Continue with Assign numbers to a label.